www.Tobold.com
Tobold@GMail.com
A blog with my thoughts regarding games I am playing and other stuff in life. Please read my Terms of Service
RSS Feed
Tuesday, May 03, 2022
First Day Start in Prosperous Universe
This is a rather detailed step-by-step guide of your first day in Prosperous Universe, getting you from the very start to having a running production. I will use the Victualler (food producer) career path as example, as it is one of the easiest choices. In the future I plan to discuss the start of other career paths, but will refer back to this post for all the steps that are common for each career. Eagle-eyed readers might notice that the screenshots are not from my main account, and normally you can't have more than one account. My thanks to Molp from simulogics for allowing me a second account for the specific purpose of this blog series.
So, you want to play Prosperous Universe, you created an account, and hit the Play Now button. You will be greeted by the Apex Company Creation Assistant, on the starting package tab. As I said above, for the purpose of this guide, we will choose the Victualler starting package. If you find the screenshot below too small, you can click on it for a larger version.

On the next tab, starting location, we choose Hortus - Promitor (VH-331a). Why that one? There are 3 criteria here: One is the table in the lower right corner, showing that the closest commodity exchange, Hortus Station, is "in system", and thus can be reached relatively quickly with just slower-than-light flight. The second is the concentration of water on the planet, which is very important for farming. The third is soil fertility, which is obviously also important, but the exact value here is less important than the fact that there is soil fertility at all. You can't farm on planets without any soil fertility. Now you can go to the company details tab, and enter a name for your company, and a 3- or 4-letter code. If you try to be clever and use something like FOOD for your 4-letter code, you'll find that somebody else already thought of that. Finally there is the last tab, Early Access Disclaimer. On this tab you need to click on "Click here to confirm that you have read and understood this disclaimer.". Then you can hit the Create button. If at this point in time nothing happens, you need to go back to the company details tab and choose a different name and code. This section is still being worked on as I write this, so you might not get a proper error message telling you what exactly went wrong, but it usually means you tried a company name or code that is already in use. Once you found an original name and code and hit Create, the following screen appears:
 The box with the header "Welcome licensee!" is a short tutorial on the APEX user interface. I would very much recommend you actually read what it says in those 12 boxes and follow the instructions. We are going to use that information later in the guide to create some new screens. After that, we are going to create our first base.
 As it says in the Hints box, you need to press the START BASE button at the bottom of your starting planet's info tile. That would be the mostly blue tile in the middle. And the button is lower down than what you can see on this screenshot. So you need to scroll that tile lower, until you find that button:
 After clicking on START BASE, another window opens, on which you click BUILD BASE. Congratulations, you are now an inhabitant of this planet. Before we go any further in expanding our base, we are going to make a new screen that will help us manage our inventory. For that you need to press the ADD button on top of your screen, next to the SCRNS button. You type in a name, description is optional, and press CREATE, and you will land on a large, empty window. Hover your mouse over the gear symbol in the upper right corner of that tile, and click the vertical bar to split the large tile vertically into two smaller ones. Than do the same with the horizontal bar on both new tiles, to create a total of 4 smaller tiles. Now press the INV button in the sidebar to the left. A new buffer window opens up. Buffer windows aren't permanent, so you now drag the inventory by the blue bar on top to the upper right of your 4 tiles. Close the now empty buffer, and click on one of the three OPEN buttons of the list of inventories. That opens one of your inventories, which you can now again drag and drop into another one of your 4 tiles. At the end you will have created a useful screen with information about all of your inventories:
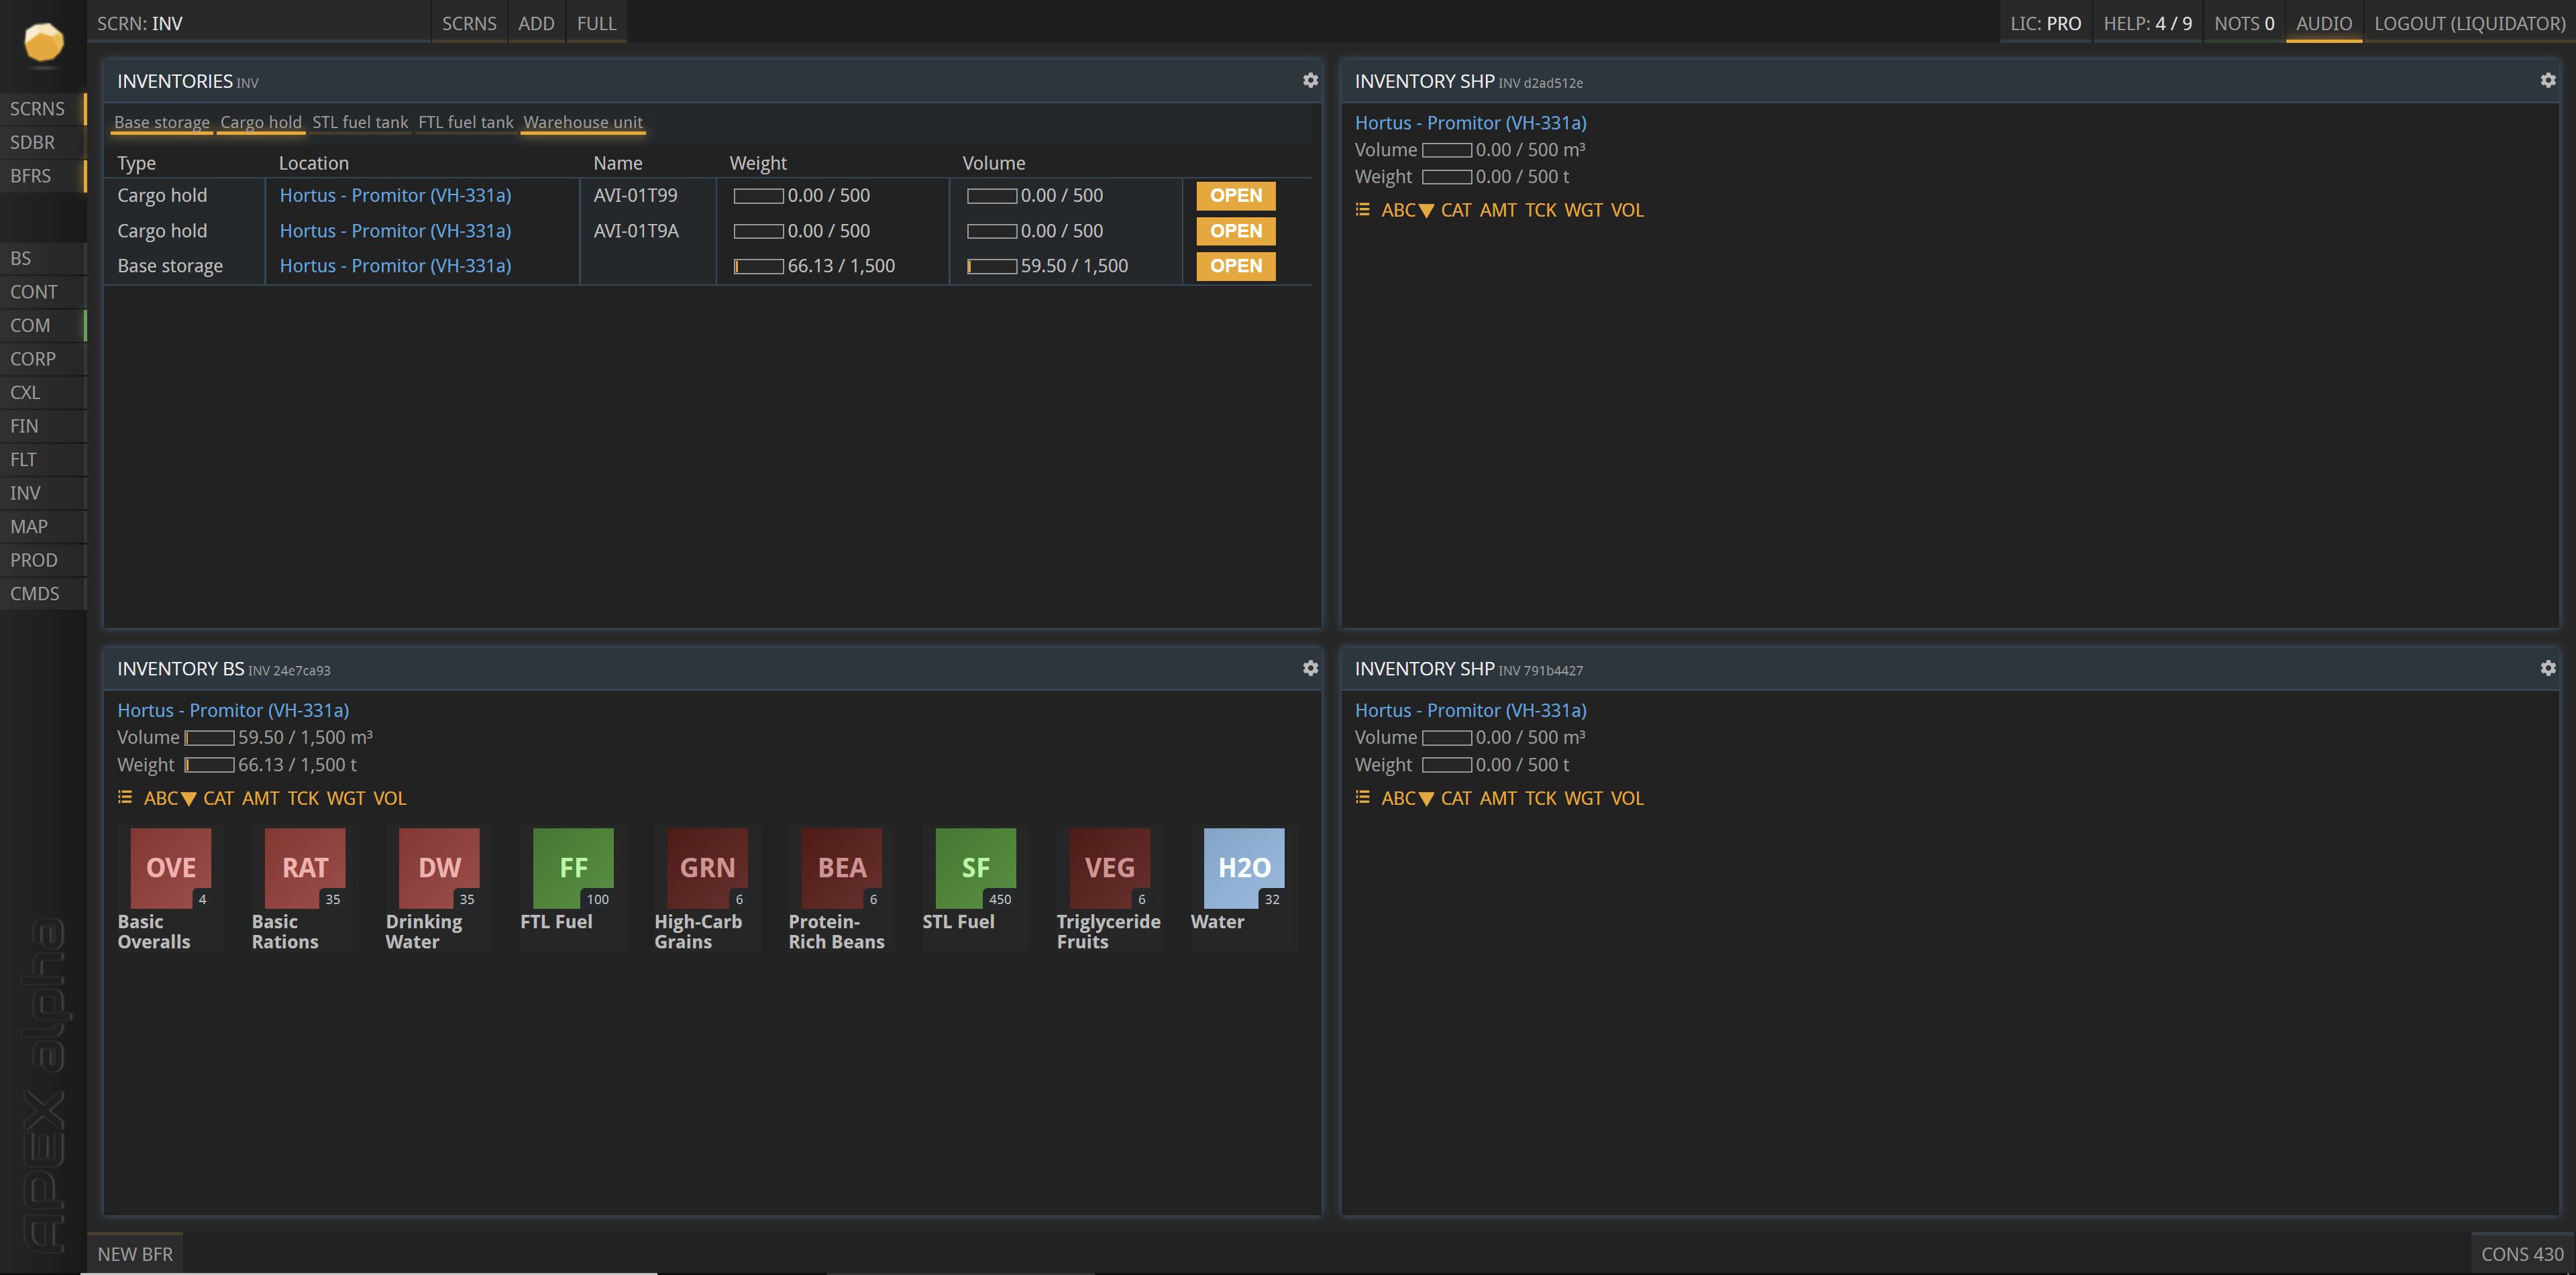
 As you can see, everything you own is in the cargo spaces of your two ships, and your base inventory is open. So now you drag and drop each one of the colored squares onto the square marked ALL in your base inventory, that only appears while you are dragging. The final result should look something like this:
 While doing this, the Construct Building Hints window will pop up. The important part here is that it reminds you that you have choses the Victualler starting profile, and that the buildings recommend to build are 2 HB1 pioneer habitations, 1 RIG to produce water, 1 FRM farmstead to grow crops, and 1 FP Food Processor to turn those crops into basic rations RAT. In this case I would recommend minimizing that buffer window, because before we construct these buildings, we will first prepare one more new screen in the APEX user interface. Like before, ADD screen, call it something like Planet (because Base is already taken), and split it into 4 tiles again. Press BS on the bar to the left. Press View Base and drag the resulting base overview holding the blue bar on top onto the first empty tile.


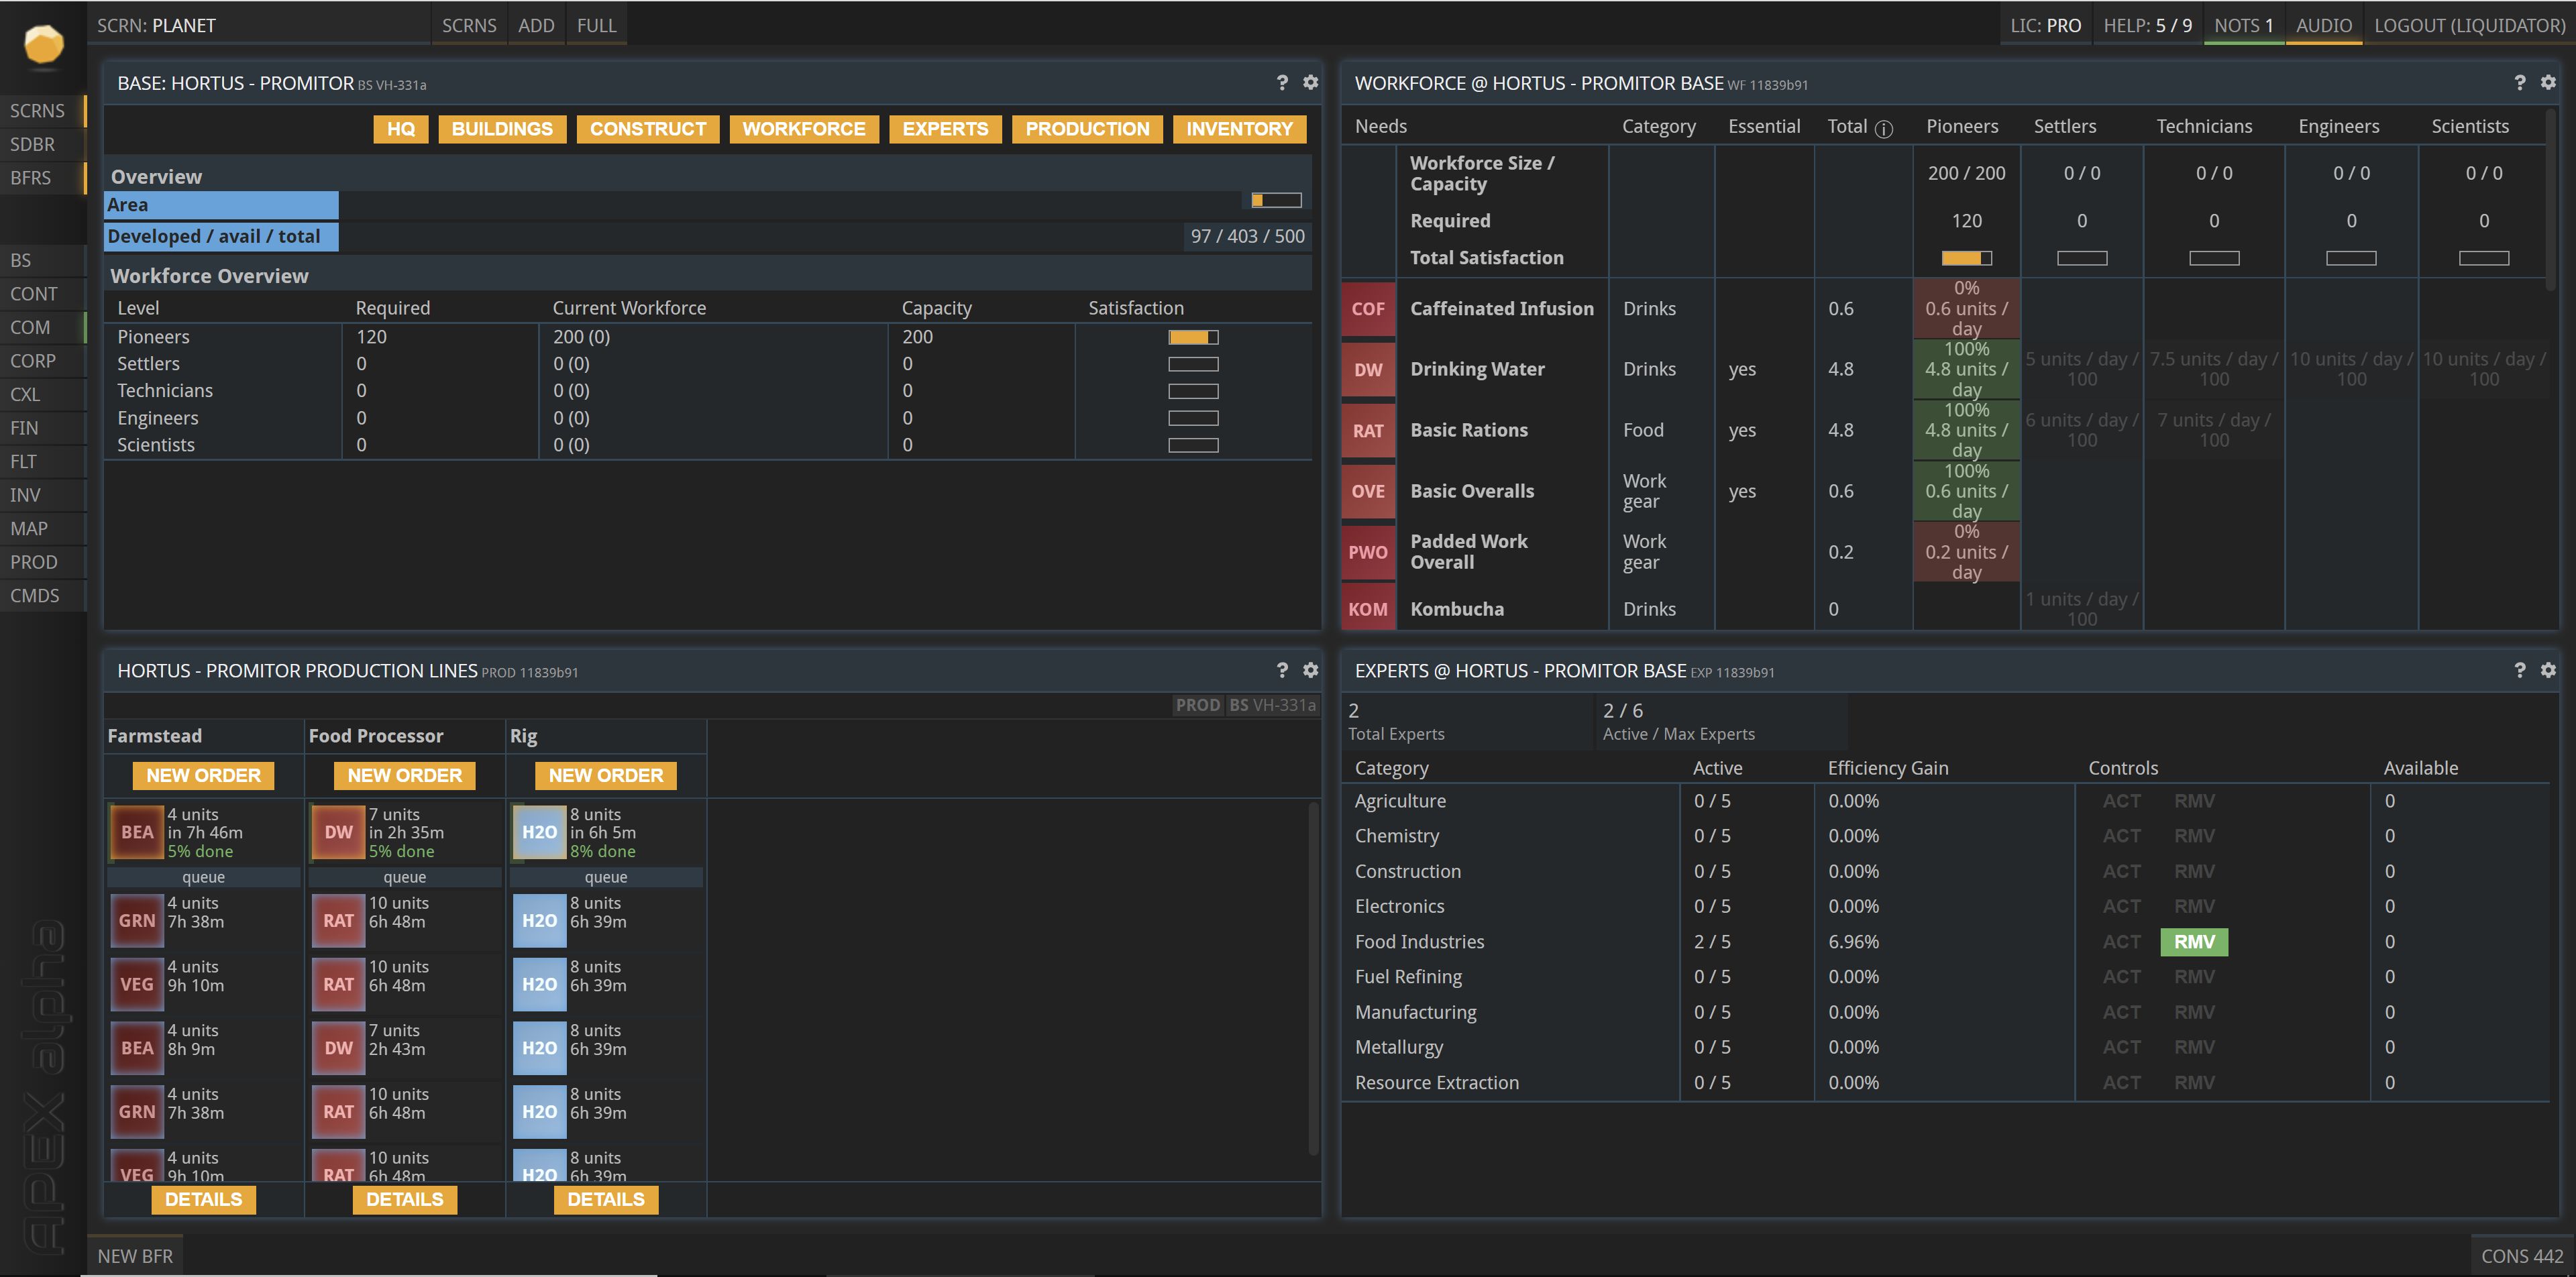
Now we have a construct button, with which we can construct our base. Press it and build a pioneer habitation, twice (not more!), on the Infrastructure tab of the construct window. Switch to the Resources tab and build a rig. The hint to start producing pops up, but you can minimize that. Then switch to the Pioneers tab and build both a farmstead and a food processor. Your base screen should now show 120 pioneers working. Press the buttons Workforce, Experts, and Production, and drag the new tiles that open by their blue bar into the empty tiles on your screen. Your screen should now look something like this: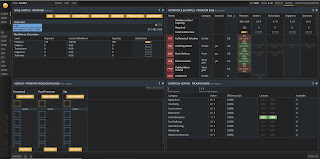

You can click on the ACT for activate button for the 1 expert that isn't assigned yet, but otherwise you won't need the expert section for now. We can now go back to the Hints window on starting production. If you minimized that, it will be at the bottom of your screen, showing as some number next to NEW BFR. If you closed it, don't worry, you can type HINT in a new buffer to get the full list of hints back. Let's first have a look at your inventories, by hovering the mouse pointer over SCRNS at the top of the screen and opening the inventories screen we created earlier. You will notice the blue building materials from the inventory are all gone, you used them all up to construct those buildings. In green there remain icons for the two types of fuel for your ships, for faster than light FTL travel and slower than light STL travel. In light red you will see basic overalls, basic rations, and drinking water, the essential goods that your pioneers consume. In darker red and light blue you will see high-carb grains GRN, protein-rich beans BEA, and triglyceride fruits VEG, as well as some water H2O. We will now make more of these goods, but the ones you have allow you to start production queues in all three of your production buildings. For that we will go back to the Planet screen we created and look at the tile with production. We will now start a NEW ORDER for each of the three production buildings. Let's start with the rig. Press NEW ORDER under Rig.
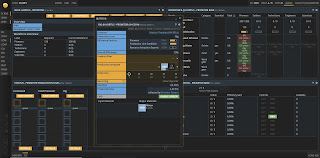 As the rig can only make one possible recipe here, you can simply click QUEUE ORDER. A hint about trading commodities will open (you can minimize that for now), and one production of water will appear on your rig.


Yes, that is 6 and a half hours of production in real time. It's a slow game. Feel free to hit QUEUE ORDER 5 more times to fill up the production queue. Note that you could set order size in the production window, but for the moment I would advise against it. Yes, you could put up to 20 orders in a single slot, giving you 160 water instead of 8. But it would take over 5 days, and you only get the water at the very end of this. As we need the water you produce earlier for the farm, stick with single productions for now.
If you click on NEW ORDER under farmstead, a very similar window opens, with a pre-selected production template turning 1 water into 2 beans. Don't do that. Instead press the downward pointing triangle next to that recipe and select the recipe that turns 6 water into 4 beans. While that looks like a much worse deal, this produces beans a bit faster. Only QUEUE ORDER once, then change to a different recipe. This time we turn 4 water into 4 grain, again just queueing one single order. Finally we select the recipe to turn 3 water into 4 vegetables. You will have to scroll down, potentially moving the buffer window up to reach that recipe.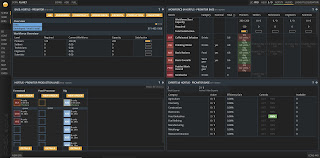

You now have a day's worth of production scheduled for your farm. You still have 3 free slots in your queue, so if you want, you can repeat the same sequence BEA/GRN/VEG.
Finally we set up the production of our food processor. For the time being we use 2 different recipes: One to turn 10 water into 7 drinking water. The other to turn 1 BEA plus 1 GRN plus 1 VEG into 10 rations. In order to balance your production of water with your consumption, for the start on Promitor I would suggest queueing up 1 drinking water DW order followed by 2 orders for basic rations RAT. You can do that twice: Congratulations, you now have a running food and drinking water production. On Promitor, this will produce a small excess of BEA, GRN, and VEG, but I would advise against selling that excess, you might need it later for a second food producer. You will also produce about 5 more DW and 24 more RAT than your pioneers consume, per day. The only thing your pioneers consume that you are not producing yourself, is basic overalls. Your workforce window shows that you consume 0.6 per day, and your inventory starts out with 4, so you have enough for 6 days. You will probably want to fly a ship from Promitor to Hortus Station to buy more overalls. But you could wait a day or two before you do that, and take your excess rations with you for selling. But that is a story for another day.
If you have further questions, feel free to write them in the comments section below, or open a new buffer in game, type USR Tobold, click CONTACT USER and chat with me in game.
Labels: PrUn
- posted by Tobold @ 4:41 PM Permanent Link
Comments:
<< Home
Newer› ‹Older
Thank you for taking the time to write up that great starting guide!
It should make the beginning of the game a LOT easier and less overwhelming.
It should make the beginning of the game a LOT easier and less overwhelming.

TYVM! It is not couldn't but I certainly would not have done this without you. Knowing it was worth it kept me perservering.
I am having issues with Apex.
I have a buffer and I think a "tile" as part of a "screen" and think I should be able to attach/replace a tile with the buffer, but can't.
"While doing this, the Construct Building Hints window will pop up." Creating the Planet screen doomed me. I was left with a 4-tile screen I could not minimize or dismiss. it does not help that what looks like minimize window in other programs is split-the-screen..
So screens are not dialog boxes; you just go up top and replace it with another screen?
If I go on a three week vacation will everybody starve to death? No Windows but will have an old iPad, iPhone 13PM, and my new MBP14. IIRC, this is playable in a browser? Is the pc/steam subscription and homstead accessible from a browser?
Thx again. Even less combat than MineThings. :-)
So screens are not dialog boxes; you just go up top and replace it with another screen?
Yes, you can add as many screens as you like. But only buffers (which are temporary) can be minimized. Tiles can be deleted or changed in size, but not minimized. Tiles that are either at the very top or the very bottom of the screen can be changed in size so much that you only see their title, which is similar to minimizing them. If on a tile you hover over the gear symbol, a ":" button appears next to the "X" to close and the two options to split. If you click the ":", the content of the tile disappears, and the command used to create to content appears. You can now either change that command, or you can drag and drop a buffer to overwrite the content.
If I go on a three week vacation will everybody starve to death?
Workers that aren't fed will stop working, and might leave. If you really have no internet during vacation, your base won't be dead, but you'll need to bring basic consumables again to get it back up and running. As long as you have any mobile device with a browser, you can surf to the Prosperous Universe website and use the mobile interface to play in a pinch, but that one is even less pretty.
Re If I go on a three-week vacation will everybody starve to death?
For your starter day 1 base, am I correct that if I had (21d * .6/d) OVE and some credits all would survive.
Regardless, I have 3 days to figure out the economics and logistics of flying to buy OVE.
For your starter day 1 base, am I correct that if I had (21d * .6/d) OVE and some credits all would survive.
Regardless, I have 3 days to figure out the economics and logistics of flying to buy OVE.
For your starter day 1 base, am I correct that if I had (21d * .6/d) OVE and some credits all would survive.
Yes, your pioneers only need the "essential" goods, drinking water + basic rations + basic overalls, to survive. With you making two of those, you only need to supply the third, and it is perfectly feasible to stock for 3 weeks.
Regardless, I have 3 days to figure out the economics and logistics of flying to buy OVE.
Early in the game, it is usually best to fly rather slow to minimize fuel usage. I usually set reactor usage (FTL fuel usage) to minimum (and if you have a station in the same system you don't need FTL fuel at all). STL fuel usage I set to a tick or two above minimum, because the first few ticks save you the most hours for the least amount of fuel.
Post a Comment
Yes, your pioneers only need the "essential" goods, drinking water + basic rations + basic overalls, to survive. With you making two of those, you only need to supply the third, and it is perfectly feasible to stock for 3 weeks.
Regardless, I have 3 days to figure out the economics and logistics of flying to buy OVE.
Early in the game, it is usually best to fly rather slow to minimize fuel usage. I usually set reactor usage (FTL fuel usage) to minimum (and if you have a station in the same system you don't need FTL fuel at all). STL fuel usage I set to a tick or two above minimum, because the first few ticks save you the most hours for the least amount of fuel.
<< Home
![]()
